
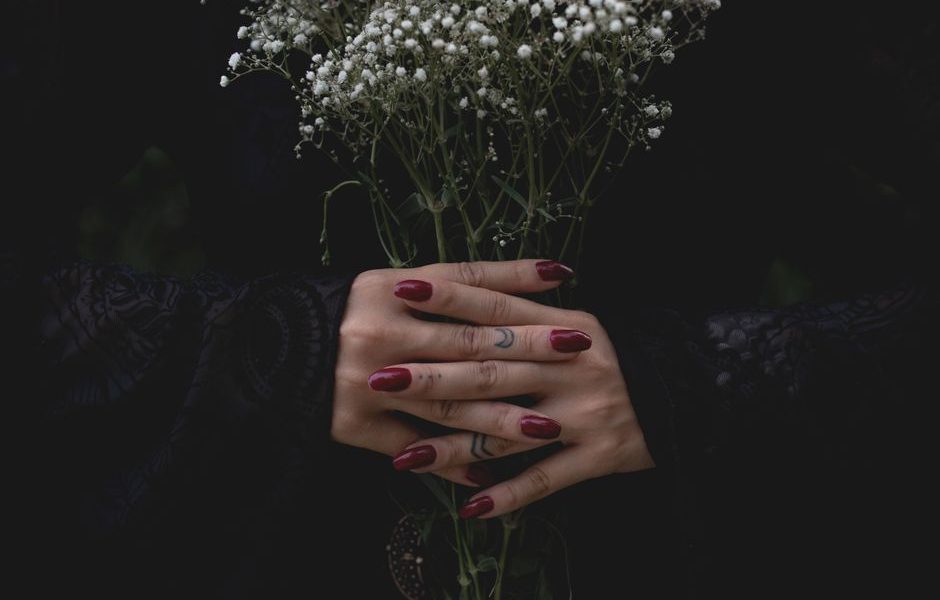
Nearly-black polish is not really black. The best versions contain plum, brown, blue, or red, which is why they look richer in daylight and softer under indoor lamps. That small color shift makes dark autumn nails easier to wear than a flat black manicure. The finish also depends on nail length, skin undertone, polish formula, and prep. Pick the right shade, then apply thin layers on clean, dry nails, and an at-home manicure can look polished for a full week or longer.
The Best Autumn Color Is the One You Can Wear Twice
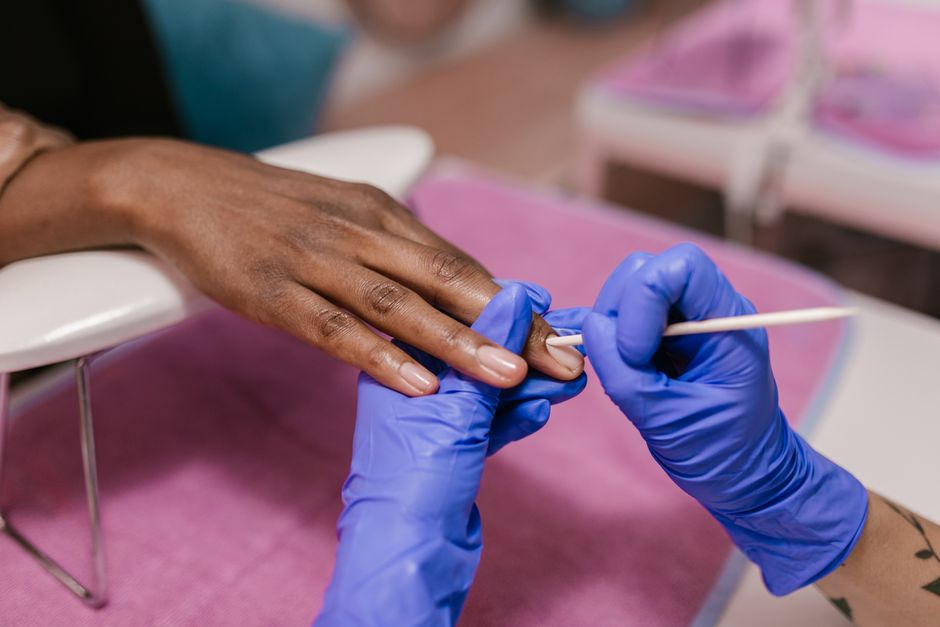
My strongest recommendation is a deep brown-red or plum crème, not glitter. These shades move from work to dinner without looking out of place, and they hide small changes in gloss as the manicure ages. A brown-red flatters warm and neutral skin because it echoes coffee, leather, cinnamon, and dried leaves, while a blue-plum shade gives cool and neutral skin a cleaner contrast. The second coat should deepen the color, not create a thick ridge, so a well-pigmented crème usually beats a sheer metallic for home use. Skip a shade that looks muddy against your skin in daylight, even if it looks beautiful inside a store, because warm lamps can make every dark polish appear more red and more flattering than it really is. The practical test is simple: hold the bottle beside your hand near a window, then imagine the shade with denim, black, cream, and brown clothing. If it works with at least three of those colors, it earns repeat-wear status. For most people, deep burgundy is the safest autumn choice; for a more distinctive manicure, blackened plum wins.
How to Prep Nails So Dark Polish Does Not Lift
Dark polish does not cause most manicure failures. Poor prep does. Oil, hand cream, damp nail plates, leftover remover, and polish touching the surrounding skin all give the color a reason to lift early. The goal is not to scrub the nails until they feel dry and weak. The goal is to create a clean, lightly textured surface and keep the polish on the nail plate instead of the cuticle.
1. Shape before water touches your hands
File the free edge while the nails are dry. Use a fine 180- to 240-grit file and move in one direction rather than sawing back and forth. A squoval shape is the easiest autumn shape to maintain because the straight edge resists splitting while the softened corners reduce snags. Avoid cutting the cuticle aggressively. The cuticle helps seal the gap between skin and nail, and cutting it too far can leave small tears that sting when remover or polish touches them.
2. Remove oil without stripping the nail
Wash your hands, dry them completely, then wipe each nail with a small amount of acetone or alcohol-free nail cleanser on a lint-free pad. Do not apply hand lotion before polishing. If your nails peel easily, keep the cleanser on the nail plate and away from the surrounding skin. Wait two minutes after cleansing so moisture on the surface can evaporate. This short pause matters because water temporarily expands the nail plate; polish applied immediately after a shower can shrink as the nail dries, which encourages edge wear.
3. Protect the nail and control the color
Apply one thin base coat, leaving a narrow border around the cuticle. A base coat creates a more even surface and reduces staining from red, purple, and blue pigments. Do not flood the sidewalls. For the color, wipe one side of the brush against the bottle neck, place the remaining polish slightly below the cuticle, then push gently toward the cuticle before pulling the brush to the tip. Use three strokes when possible: center, left, and right. Two thin coats dry more evenly than one heavy coat and produce a cleaner shine. Finish with top coat across the tip of the nail. That small cap of product protects the edge, where chips usually start.
The verdict is simple: spend more time on dry, oil-free prep than on extra polish. A perfect dark shade cannot rescue a nail plate covered with lotion or a cuticle buried under a thick bead of color.
A 35-Minute At-Home Manicure That Survives Real Life
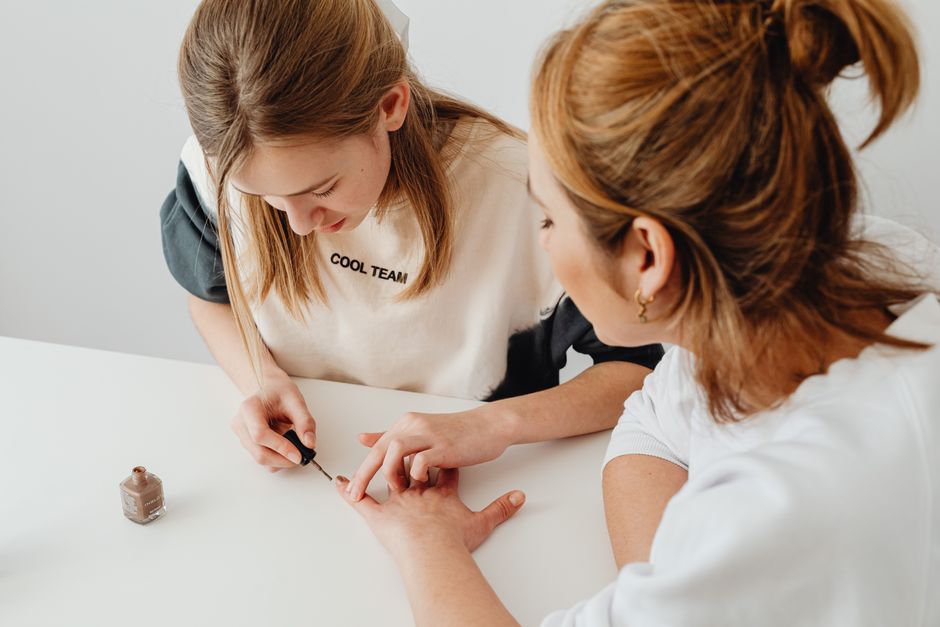
The most reliable home manicure uses a timer and thin layers. Rushing the drying stage causes dents, drag marks, and soft polish that chips when you open a drawer. This schedule works for regular lacquer and can be adjusted around your formula’s drying time.
- Minutes 0 to 5: Remove old polish, wash your hands, and dry every nail. Check for peeling, hangnails, or rough corners before you shape anything.
- Minutes 5 to 10: File the nails into one consistent shape. Keep the length modest if you type, cook, care for children, or work with your hands. Shorter nails usually keep their edges longer.
- Minutes 10 to 14: Apply a small amount of cuticle oil only if the skin is very dry, massage it in, then remove all residue from the nail plate with cleanser. Do not leave oil under the base coat.
- Minutes 14 to 17: Paint one thin base coat. Let it settle until it feels dry rather than tacky. Thick layers trap solvent and stay soft.
- Minutes 17 to 23: Apply the first color coat. Keep the brush load small. A slight gap around the cuticle looks cleaner than a flooded edge.
- Minutes 23 to 28: Apply the second color coat. If the first coat dragged, wait longer instead of trying to repair it immediately.
- Minutes 28 to 32: Add top coat and lightly seal the free edge. Do not keep brushing once the surface starts to set.
- Minutes 32 to 35: Sit still, keep your hands flat, and avoid hot water. After the manicure feels firm, use cuticle oil around the skin, not across the polish.
The best maintenance habit is a tiny top-coat refresh on day three or four. Add one thin layer only when the surface still looks smooth. If the polish has already lifted, do not paint over the loose section; remove the damaged nail and repair it cleanly.
Autumn Manicure Questions That Prevent Chips
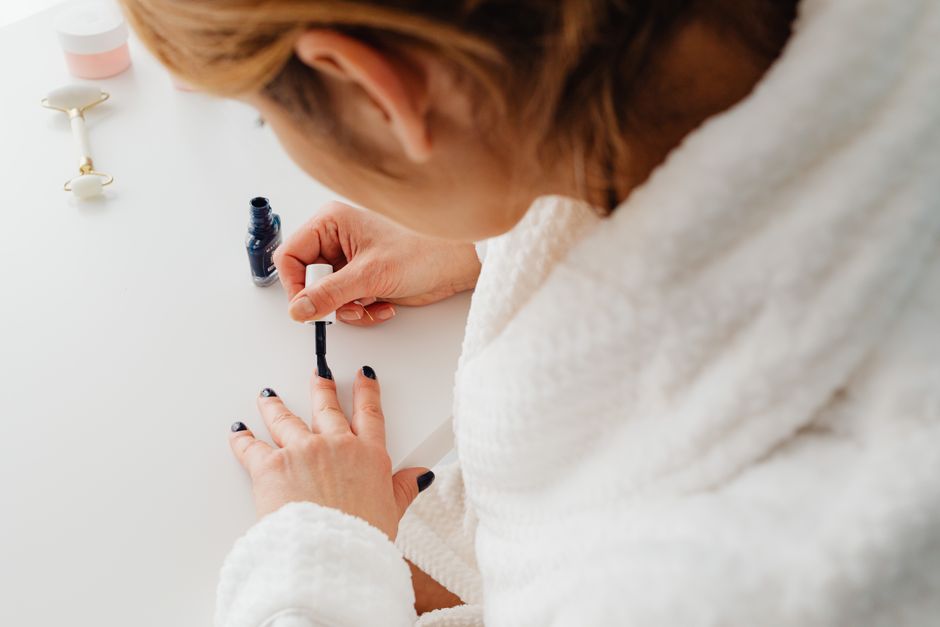
Why does dark polish show every mistake?
Dark pigments create stronger contrast against the skin, so an uneven cuticle line stands out more than it would under pale pink polish. Keep the brush nearly parallel to the nail, work with less product, and leave a slim border near the skin. If polish lands on the cuticle, clean it with a small angled brush dipped in remover before the top coat dries. Do not wait until the next day, when the edge becomes harder to remove without disturbing the manicure.
Should you use a glossy or matte top coat?
Gloss is the better everyday choice because it reflects light across the nail and makes dark colors look deeper. Matte top coat works when you want a modern, suede-like effect, but it can make ridges more visible and may need more frequent touch-ups on the tips. For a first autumn manicure, choose glossy top coat, then try matte on one accent nail after the basic technique feels controlled.
When should you skip a dark autumn shade?
Skip very dark polish when your nails are peeling, your skin around the nails is cracked, or you cannot spare time for careful removal. Dark pigment can collect around flakes and make the damage look worse. A sheer beige, muted rose, or warm taupe gives the nail plate a cleaner break while it grows. Also skip a high-maintenance shade before travel, a long cooking session, or a week of heavy cleaning; a shorter manicure in a forgiving color will look better than a dramatic one with worn edges.
How do you remove rich colors without staining?
Press a remover-soaked pad onto the nail for 10 to 15 seconds, then pull it toward the fingertip instead of scrubbing side to side. Use a fresh section of the pad for each nail. Wash your hands after removal and apply oil to the nail folds. The future of autumn nail color is moving toward deeper custom shades, softer finishes, and formulas that make salon-style precision easier at home, but careful prep will remain the detail that makes every rich color look expensive.