
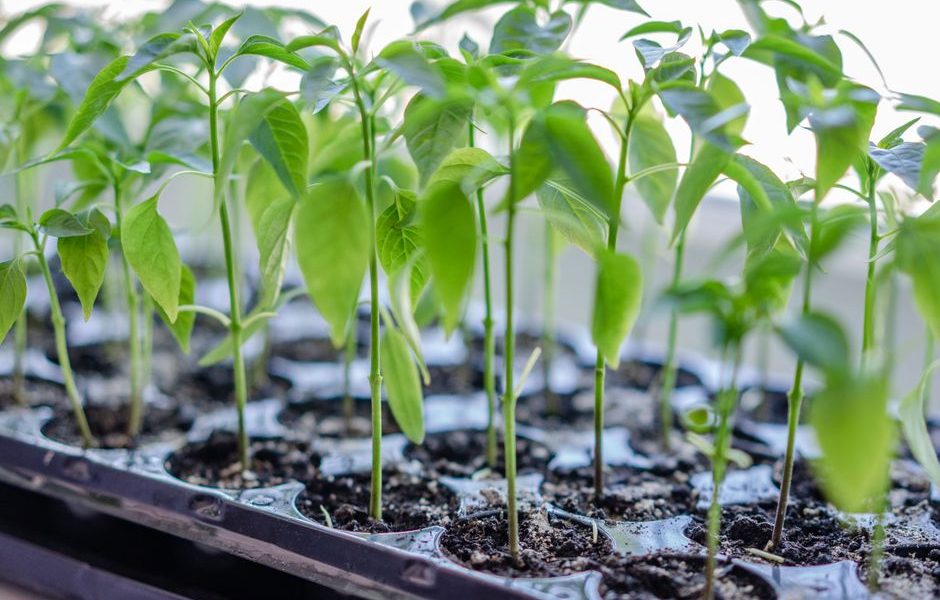
Your child is standing beside a bare patch of soil, holding a seed packet upside down and asking when dinner will come from it. That moment tells you what makes a family garden work: kids need a job they can finish, a result they can see, and enough freedom to make small choices. The best family garden starter projects do not begin with a large raised bed or a long shopping list. They begin with one container, one crop, and a clear harvest date.
Which garden project should kids start with?
Choose the project with the fastest visible result. Young children often lose interest when the reward sits two months away. A good first project gives them something to touch, measure, water, or taste within a week. The table below ranks simple projects by time, space, and the kind of responsibility they teach.
| Project | Space needed | First visible result | Child’s main job | Common failure |
|---|---|---|---|---|
| Radish tray | One 12-inch pot | 3 to 5 days | Check soil moisture and thin seedlings | Seeds grow too close together |
| Herb pot | One 8 to 12-inch container | 5 to 14 days | Water lightly and snip leaves | Too much water makes roots weak |
| Salad box | One 24-inch window box | 7 to 14 days | Mark rows and harvest outer leaves | Plants dry out in hot weather |
| Pea trellis | 2 square feet | 10 to 21 days | Guide vines onto support | Seeds rot in cold, wet soil |
| Pollinator pot | One 16-inch container | 2 to 6 weeks | Observe insects and remove dead flowers | Plants lack enough sunlight |
Pick the smallest useful space
A container between 8 and 16 inches wide gives a child enough room to dig without turning the work into a heavy construction job. Put it near the kitchen door so watering becomes part of an existing routine. A garden that sits at the far end of the yard needs more reminders, and reminders quickly turn into adult work.
Match the crop to the child’s patience
For children under six, start with radishes, peas, lettuce, basil, or green onions. Older children can handle tomatoes, carrots, and flowers that take longer to bloom. My clear winner for a first weekend is a salad or herb container because it teaches planting, watering, thinning, and harvesting in one small space.
How to build a three-container herb garden in one afternoon
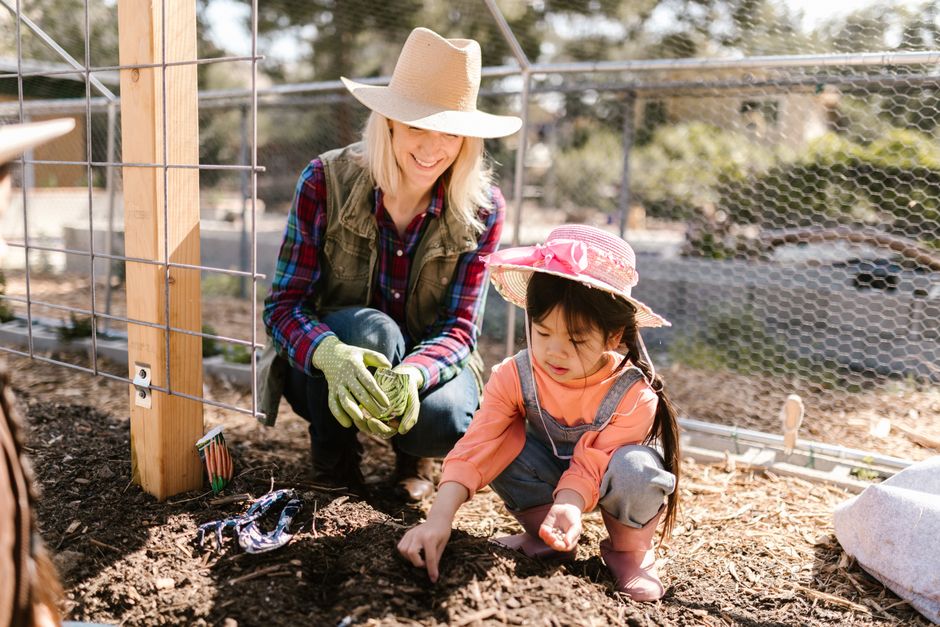
This project works best for children ages five to ten because every step has a visible finish line. Use three containers with drainage holes, each at least 8 inches wide. Place them on a tray or paving stones, not directly on a wooden deck where wet soil can stain the surface.
- Label the containers. Write basil, chives, and parsley on wooden sticks or recycled plastic labels. Let the child draw a leaf beside each name.
- Fill the pots. Leave 1 inch of space below the rim. Press the soil gently instead of packing it hard. Loose soil gives small roots room to spread.
- Sow at the right depth. Basil seeds need only about 1/4 inch of soil. Chive seeds can sit roughly 1/4 inch deep. Parsley seeds need closer to 1/2 inch and may take longer to appear.
- Water with a gentle stream. A child-sized watering can works better than a hose because the slower flow does not wash seeds into one corner.
- Set a daily check time. Ask the child to press one finger into the soil. Water only when the top inch feels dry. A damp surface does not mean the roots need more water.
- Harvest correctly. Once basil reaches about 6 inches, pinch leaves just above a pair of leaves. Cut chives with scissors, leaving 2 inches above the soil. Harvesting makes the project feel alive instead of finished.
For a named seed option, Burpee Large Leaf Organic Basil Seeds cost about $5.45 on the company site and suit a container kitchen garden. The seed packet matters less than the routine, though. If an adult waters every pot and handles every label, the garden may look tidy, but the child will not learn how to read the soil.
How to make a four-plant pollinator patch kids can maintain
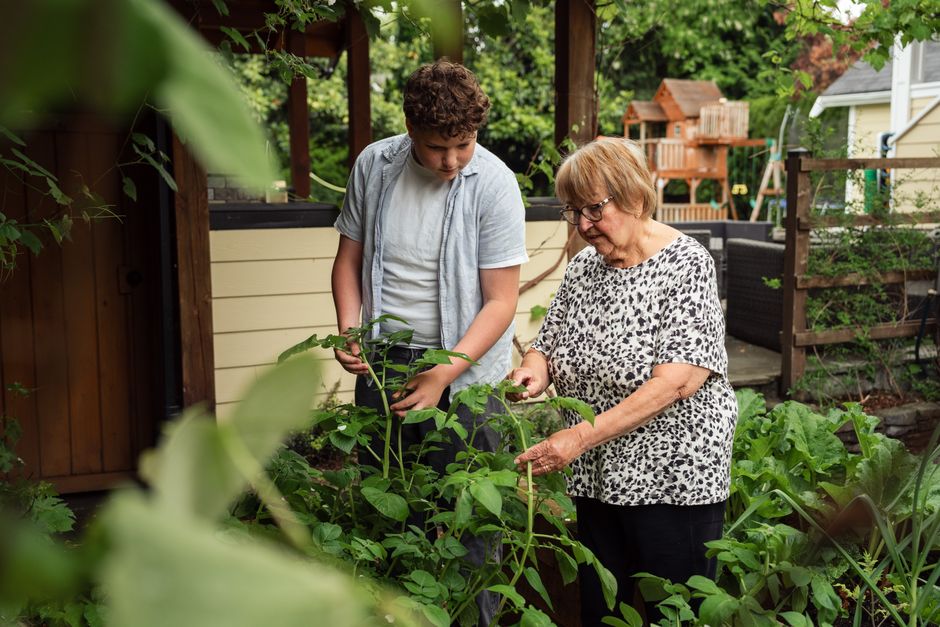
Older children often want a garden with a purpose beyond eating. A small pollinator patch gives them something to observe and record, but it needs a simple design. Do not scatter ten different flower packets across a large bed. Start with four plants that bloom at different times and tolerate ordinary family-garden mistakes.
Use a four-part layout
Choose a sunny space that receives at least six hours of direct light. Mark four sections, each about 12 inches square, or use four 10- to 12-inch pots. Plant one nectar-rich flower in each section: calendula for early color, borage for blue flowers, nasturtium for trailing growth, and a native coneflower or black-eyed Susan for late-season blooms. Check your local extension service before buying seed so the plants fit your region. A plant that thrives in one climate may struggle in another.
Give the child an observation job
Make a weekly chart with three columns: date, insect seen, and flower visited. The child does not need to identify every bee or butterfly. “Small black bee” or “orange butterfly” provides enough detail for a first record. Ask the child to count flowers once a week and remove only dead blooms that clearly finished. Avoid sprays near flowers, and leave a shallow dish of clean stones and water nearby so insects can drink without standing in deep water.
Keep the patch alive during school weeks
Mulch the soil with a thin 1- to 2-inch layer of untreated leaves or straw, keeping it away from plant stems. Water deeply at the soil line once or twice a week during dry weather instead of sprinkling the leaves every day. The best verdict for a family pollinator garden is simple: use fewer plants, give each one a visible space, and let the child track insects rather than turning the project into a perfect flower display.
What goes wrong in a child’s first garden?
Why did every seed sprout and then collapse?
Usually, the soil stayed too wet or the seedlings grew in a dark spot. Move containers into brighter light, stop watering until the surface dries slightly, and thin crowded seedlings with scissors. Do not add fertilizer to rescue weak sprouts. More food will not fix poor drainage or weak light.
Does a child need a special tool set?
No, but a tool that fits small hands can prevent frustration. The Hey! Play! Kids Gardening Tool Set, model HW3300024, was listed at $21.67 and includes a shovel, leaf rake, hoe, and rake with rounded edges. It suits children who want to dig and rake, but an inexpensive kitchen spoon can handle a first container project just as well. Buy the set only when the child will use it repeatedly.
When should a family skip a raised bed?
Skip a raised bed if you rent, have a shaded yard, or cannot commit to regular watering. A 1.5-cubic-foot bag of Miracle-Gro Organic Garden Soil costs about $10 and can fill several containers, while a small recycled bucket with drainage holes costs nothing if you already have one. A raised bed adds height, soil volume, and expense; it does not solve a lack of sunlight or time. For most first gardens, one container is the smarter purchase.
My starter-kit verdict for a family garden
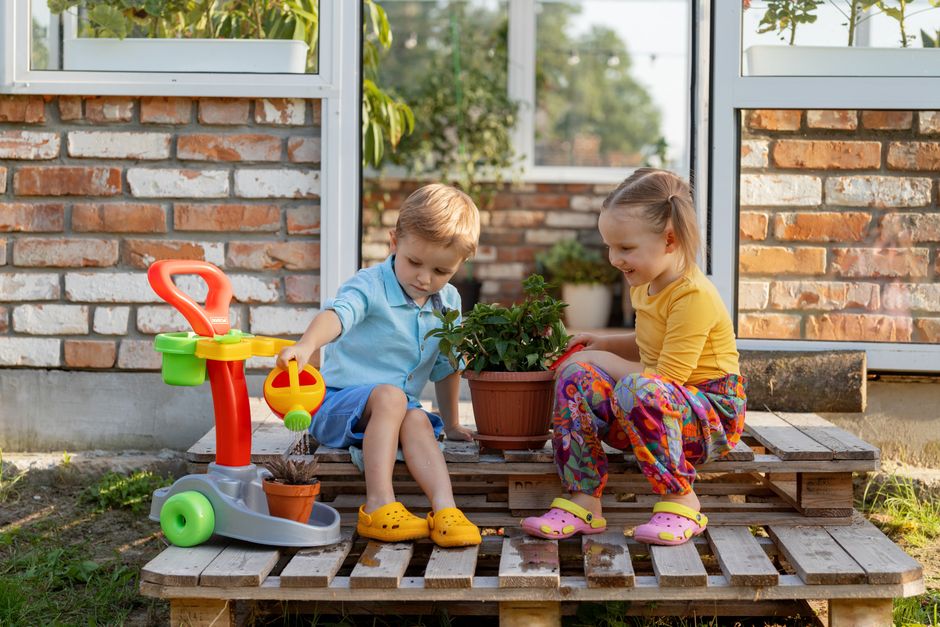
Start with one edible container, not a full garden bed. For most families, the best first setup is the Hey! Play! Kids Gardening Tool Set if the child wants real digging, Burpee Large Leaf Organic Basil Seeds for a quick kitchen crop, and one 8- to 12-inch pot filled with about $10 worth of Miracle-Gro Organic Garden Soil. That combination keeps the project small, visible, and useful without turning a Saturday activity into a major build.
Adults should handle drainage-hole drilling, heavy soil bags, sharp pruners, and any product label that mentions fertilizer or pest control. Children can choose the crop, make the labels, fill the pot with a small scoop, water the surface, and record the first sprout. If you already own adult tools, the Fiskars Gardening Hand Tool Set 3 Piece 200S gives an adult a trowel, transplanter, and cultivator for preparing tougher soil; it is a backup tool, not a reason to buy more gear for the child.
Spend the first week watching the routine rather than chasing perfect growth. If the child checks the soil three times, tastes one leaf, and remembers one watering task, the project worked. Add a second container only after the first one has a stable care schedule. For a busy family, the strongest choice is a basil or salad pot by the kitchen door; for an older child who wants wildlife, choose the four-plant pollinator patch. Both projects teach real garden skills, but the edible container is the clearest starting point because the harvest arrives soon enough to keep children involved.